540-208-1008

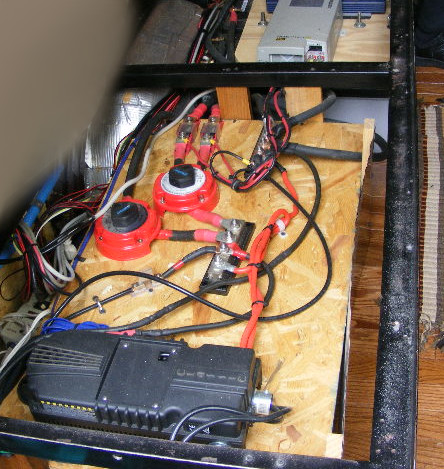
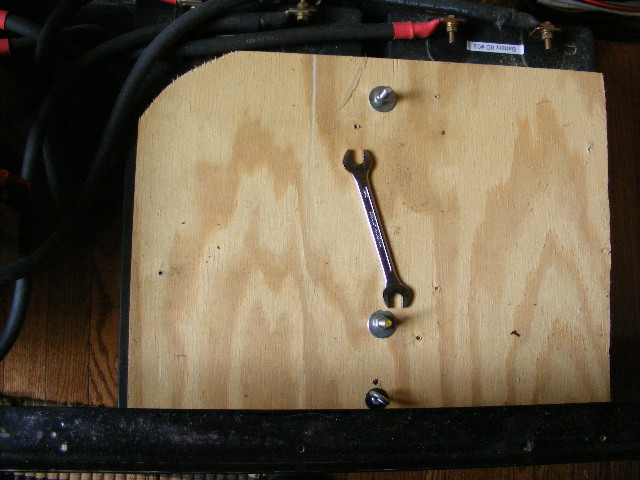
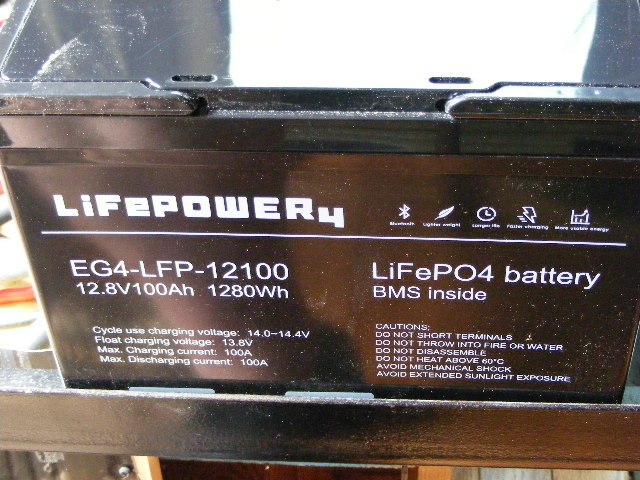
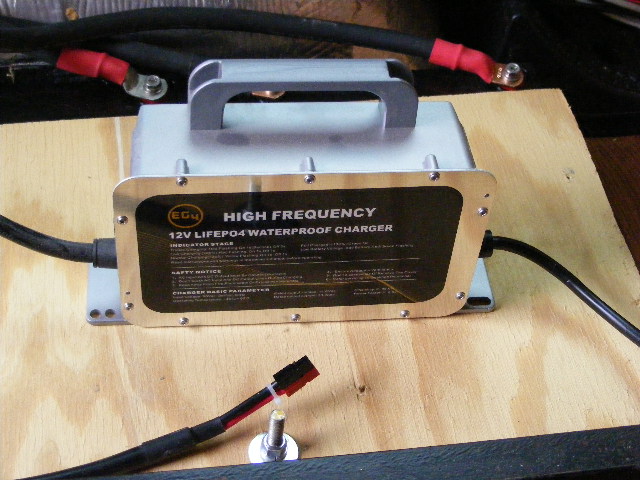
Changing to LiFePO4 Batteries

The time came to replace our aging AGM batteries. We went with LiFePo4 (lithium iron phosphate) from Signature Solar. Our camper has a 12 volt system with solar panels and yes, a 48 volt solar system is afforded many benefits, especially in efficiencies like voltage drop and thinner wires. However, the camper is our mobile home and we chose 12VDC to give us a ready source of energy for all the 12 volt things in our lives, like car radio, amplifiers, vent fans, police scanners, ham radios, security cameras, flood lights, televisions (we bought TV/monitors with external power supplies that output 12VDC), cooling fans, dome and tail lights, Raspberry Pi computers (using a 12 volt to 5 volt inverter) and more.

I did not do a good job documenting the battery change in pictures, but I’ll try to explain as we go.

First, here is the beginning shot.

From top to bottom:

The blue thing barely visible at the top of the picture is a spare 12VDC to 120VAC inverter.

Below this is a Xantrex TrueCharge battery charger that I will also replace.

Below this are bus bars, fuses, and two big red rotary switches. One is on/off and a combiner for the batteries into the system; whereas the other acts as a master power for the big inverter, not seen because it is underneath the wood deck used to mount the switches and fuses.

Below this is a Midnite Classic 150 MPPT Solar Charge Controller.

Around the entirety is a metal frame that holds a 3/4″ sheet of plywood, which is the base for our mattresses.

Here’s another view, straight down. The silver hump is a wheel well covered in a roofing product used as sound proofing.

Here, we see a better view of the spare inverter and Xantrex Battery Charger. The two bolts above and below the battery charger are part of metal frame I welded up and bolted to the floor of the camper. The bolts rise vertically, and I set a scrap of 3/4″ plywood with fender washers and bolts to lock these behemoth batteries to the floor. I did not want a sudden stop to send these massive hunks of lead forward to my head. It’s hard to tell from this angle, but I’ve already apologized for the crummy photography.

Here’s a better view of the brace/lid plywood.

Here they are, these lovely beasts. I recall they weigh 163 pounds each and it looks like the newer version 8DL are a little lighter. Still, they are very heavy. I wonder what the recycle center will give me for them? I noticed the one on the right had some chafing on the outer plastic, which reminds me everything you design and build in a mobile home or camper must take into consideration vibration. Just imagine taking your stick built home and hurling it down a bumpy road at 70 mph!

Here is one of the replacement batteries. Twelve volt, water proof, blue tooth monitoring and each one has its own Battery Management System (BMS). Best of all, these puppies are only 22 pounds each!

Finally, here is the battery charger sold by Signature Solar. It is designed to charge 12 volt LiFePo4 batteries, and you may notice, I removed the alligator clips and installed an Anderson Power Pole connector. I mounted the battery charger out of the way and wired it into our system.

Review

We took the camper van out on a two week excursion into a national forest. We were in mostly shade, save a few hours with direct overhead sunlight. I did not have the blue tooth monitoring app set up on my phone. About six days into the trip, the voltage dropped a little and then the batteries were dead. With LiFePo4, you can discharge the batteries completely and not kill the cycle life. However, the battery charger sold to us by Signature Solar would not come one, and I had tested it before the camping trip. I made a call to their tech support and found out the problem was with a dead battery; there is no internal resistance for the charger to detect, and so it won’t come on. I used a jumper cable to momentarily wire in a spare vehicle battery into my otherwise isolated camper 12 Volt circuit. The battery charger fired up just fine and within a few hours, the batteries were fully charged. Now I have the app on my phone and can monitor the new battery levels nicely. With the AGM batteries, you could tell the charge level by the voltage, using a readily available chart, which shows you volts versus percent charge, like this:

12.6 Volts is 100%

12.5 Volts is 90%

12.42 Volts is 80%

and so on. However, with LiFePo4 batteries, they kept 13.1 volts throughout the charge cycle, all the way to complete discharge (roughly speaking), so my ‘original’ method of monitoring the batteries with an inline voltmeter was flawed. The app is a good addition to my toolkit.

Views: 32

Leave a Reply

Your email address will not be published. Required fields are marked *

error: